

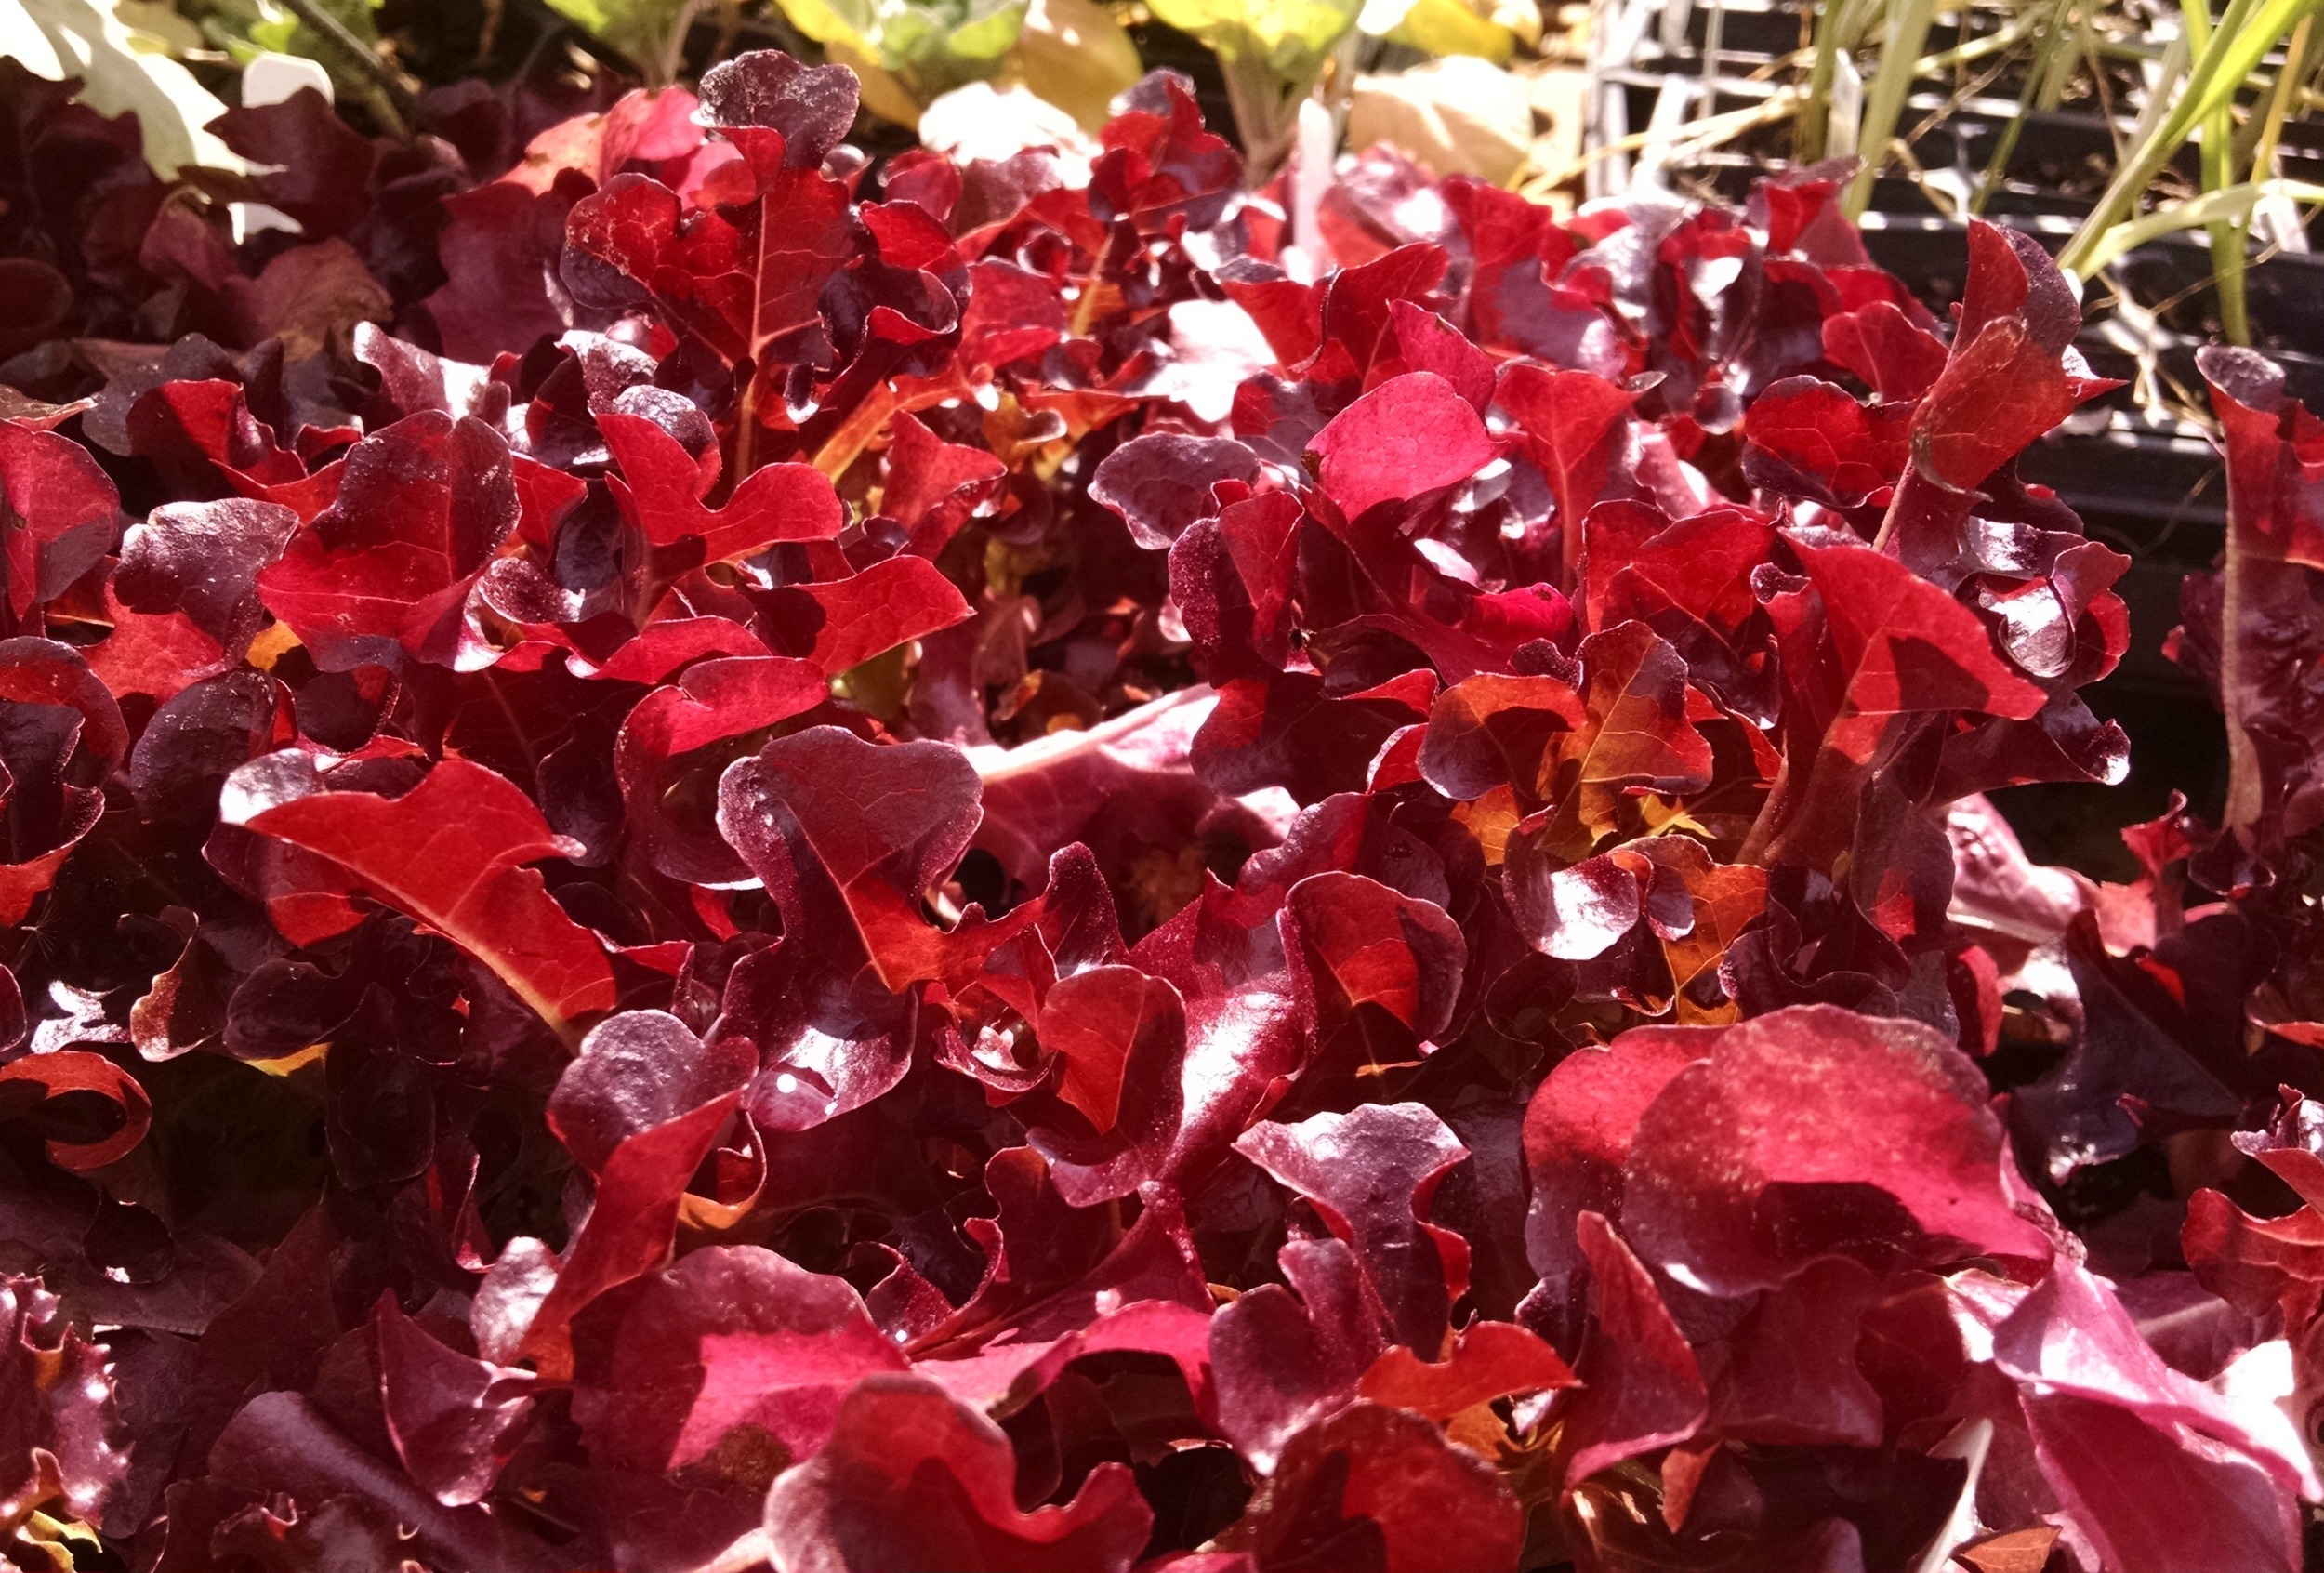
Fall veggies to plant - beautiful red leaves
We’re heading into the homestretch of summer, which can only mean one thing: it’s time to plant cool season vegetables! Here in North Carolina, spring temperatures can climb quickly, which makes vegetables such as lettuce or spinach develop a bitter flavor. Those veggies, along with others such as broccoli, cauliflower and carrots, generate the best flavor when they mature during cooler weather. Planting these crops now means you’ll have a harvest of produce that will carry you well into the fall and winter. There are a number of cold-hardy crops that prefer the cooler temps and higher moisture levels that come at this time of year. Late planted vegetables usually have less competition from weeds and there are fewer pests around to bother them. Some of these plants can grow very quickly from seeds and be ready to eat in a little over a month. Arugula, mustard, spinach, turnips and radishes all germinate from seeds and are ready to harvest in about 40 days.
To ensure success of late harvests, make sure seedlings have enough time to create well-established root systems before the first frost hits. It’s best to plant cool season vegetables in raised beds or mounded rows, and seeds should be planted deeper because the moisture level of the soil is lower and the surface temp is higher. The planting depth may be as much as twice as deep as for spring planting of the same crop. Give your plants a layer of manure or compost that is several inches thick to help the plants establish strong roots, provide adequate drainage, and supply the necessary nutrients for proper plant growth. Sprinkle fertilizer over top of your plantings for extra nutrients and continue to fertilize them regularly in the early growth stages.
Most vegetables need about an inch of water per week. For cool season veggies, it is best to do a single watering that seeps deep into the ground, rather than several applications that soak more shallowly. Young seedlings, germinating seeds, and transplants may require some light watering between the weekly soak.
Most cool weather vegetables can tolerate a light frost, but if a harsh frost hits, you will want to cover your beds with burlap, tarp or a blanket to protect plants.
Below are some suggestions of cool season vegetables to plant:

Salad greens to plant for fall harvest
Asparagus
Beets
Broccoli
Brussels sprouts
Cabbage
Carrots
Cauliflower
Collards
Cucumbers
Kale
Lettuce
Onions
Radishes
Rutabaga
Spinach
Turnips
If you’re thinking about starting a cool season vegetable garden, stop in and see us! Our friendly staff is on-hand seven days a week and can help you with all of your gardening needs.